

When you install Office 2016, you notice that you can’t customize the installation as previous versions. All components (Word, Excel, Access, Powerpoint, OneNote, etc) will be installed when you run its setup.exe. This is convenience for user who wants to install everything of Office 2016. However, if you have limited disk space on C drive or you want to install only some specific component, for instance, Word and Excel, it would be a problem.
To fix the problem, you can use Office 2016 Deployment Tool to customize Office 2016 installation. In this post, I will show how to use Office 2016 Deployment Tool and modify configuration.xml with any text editor to customize Office 2016 installation to install only specific components that you want.
[youtube][/youtube]
Step-by-step
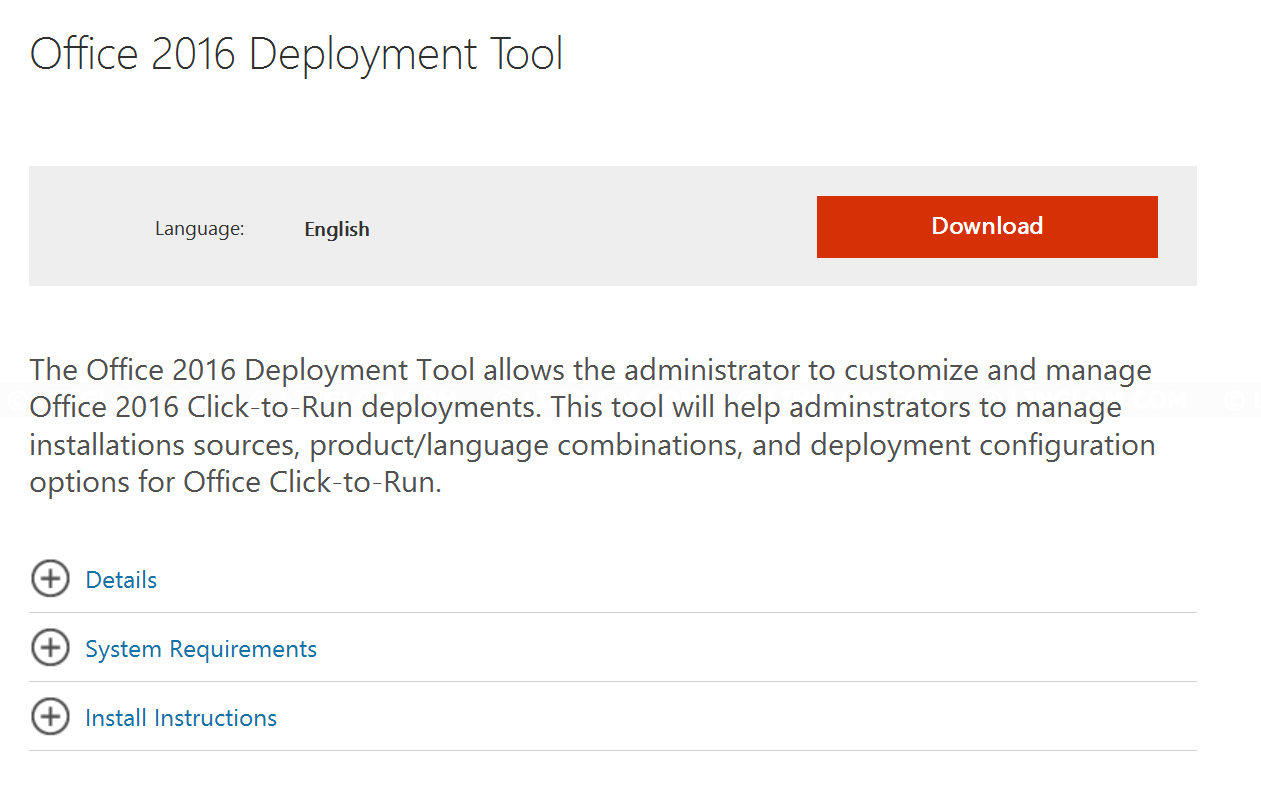
Download Office 2016 Deployment Tool from
http://www.microsoft.com/en-us/download ... x?id=49117
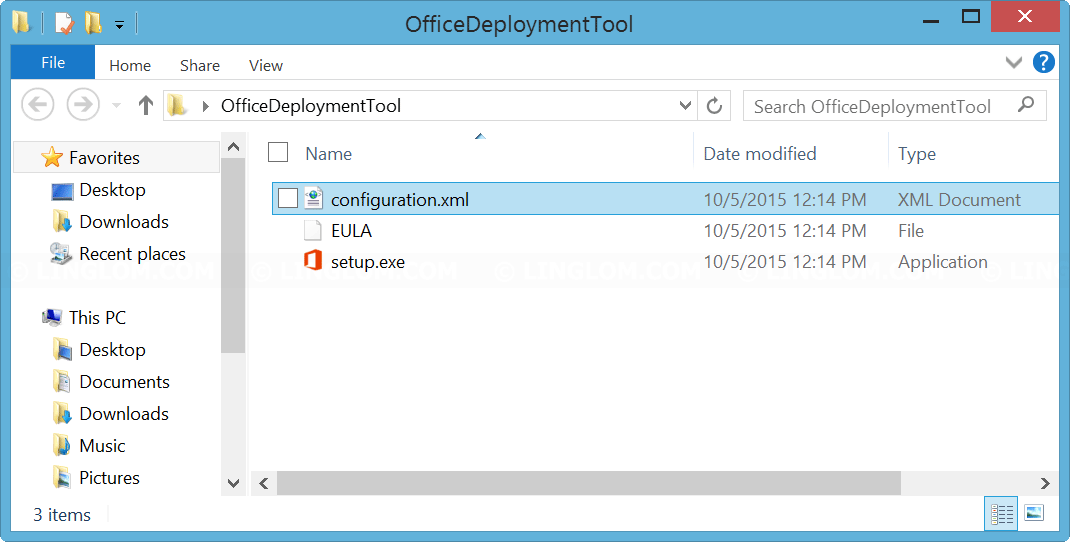
Extract the file with any zip program, for example, WinRAR, 7Zip, etc. You will see 3 files as following: configuration.xml, EULA, and setup.exe
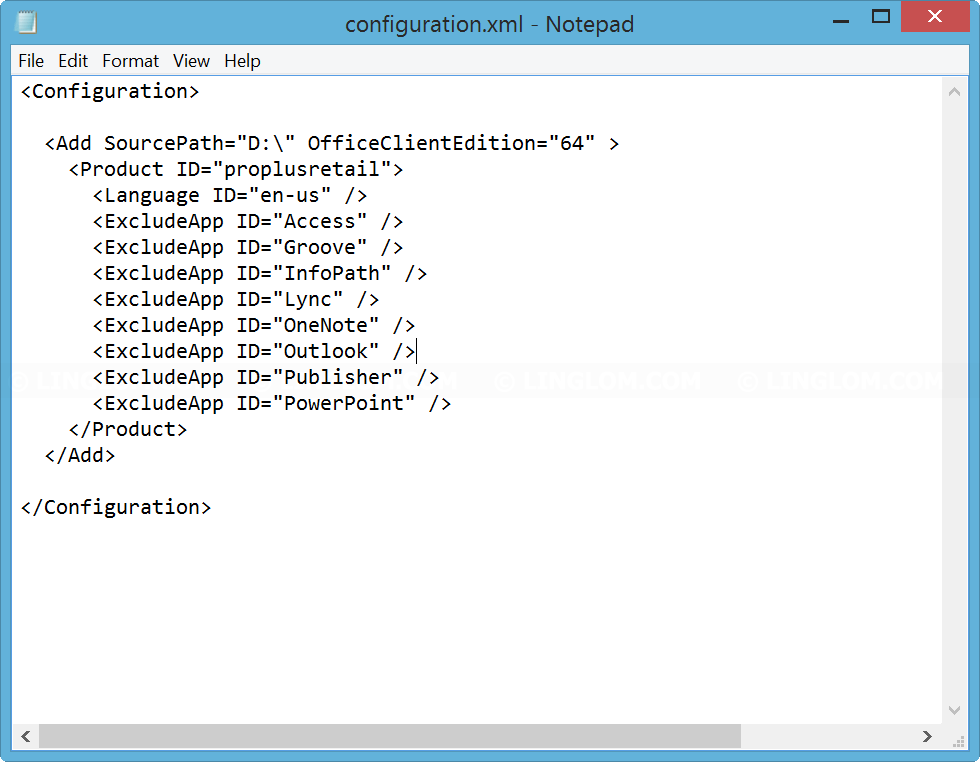
Edit configuration.xml with notepad. This is an example configuration.
Código: Seleccionar todo
<Configuration>
  <Add SourcePath="D:\" OfficeClientEdition="64" >
    <Product ID="proplusretail">
      <Language ID="en-us" />
      <ExcludeApp ID="Access" />
      <ExcludeApp ID="Groove" />
      <ExcludeApp ID="InfoPath" />
      <ExcludeApp ID="Lync" />
      <ExcludeApp ID="OneNote" />
      <ExcludeApp ID="Outlook" />
      <ExcludeApp ID="Publisher" />
      <ExcludeApp ID="PowerPoint" />
    </Product>
  </Add>
</Configuration>
SourcePath is path where you have Office 2016 installation media. In this example, I have the media on DVD (Drive D).
OfficeClientEdition. You can select to install the 32-bit or 64-bit.
Product ID. If you’re going to install Office 2016, use ProPlusRetail. If you’re going to install Office 365 ProPlus, use O365ProPlusRetail instead.
Language ID, specifies the languages to install.
ExcludeApp ID, specifies which Office components you don’t want to install. In this example, only Word and Excel will be installed.
Open command prompt and change path to the folder that you extracted the deployment tool (step 2). Then, type the command
Código: Seleccionar todo
setup /configure configuration.xml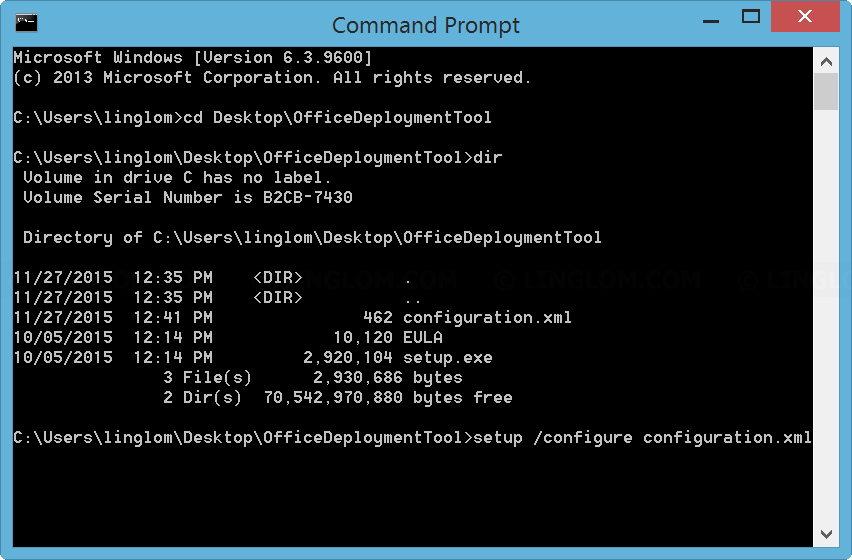
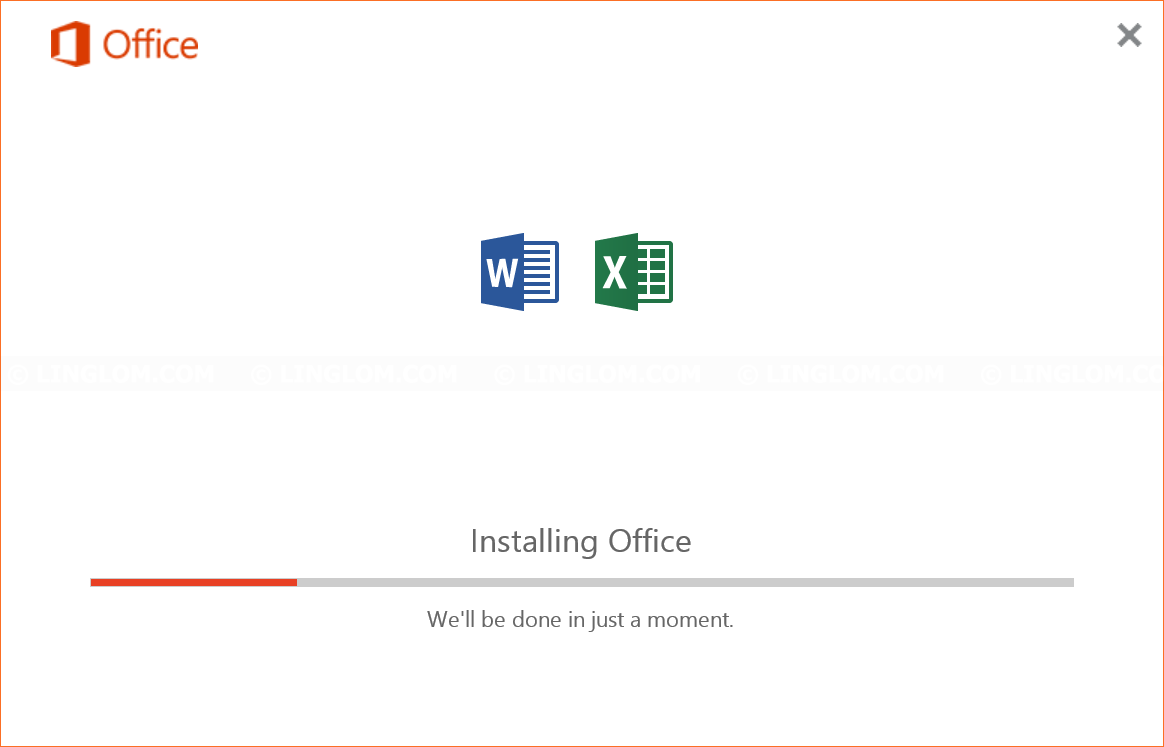
In this sample configuration, if there is no error, you will see that only Word and Excel will be installed. The results in this example:
Normal installation: 25 minutes, 2.2 GB disk space used.
Customize installation (Word and Excel): 14 minutes, 1.85 GB disk space used (saved 20%)
References
Office 2016 Deployment Tool
http://www.microsoft.com/en-us/download ... x?id=49117
Reference for Click-to-Run configuration.xml file
https://technet.microsoft.com/en-us/lib ... office.15)