
Are you looking for a solution to recover lost data on a harddisk or USB drive? Did you just deleted partition on a harddisk or deleted some important files by accident? If that is the case, this article could help you.
When you delete files or a partition, it doesn’t mean that the data has been erased from the drive, but instead only a flag which tell you that this space is now free. The data will be erased when the space is needed to write new data over it. So the sooner you attempt recover lost file the better chance you get the data back.
Note: It is important that you do not write anything to the partition that will be recovered. You should install recovery software (if needed) on separate partition or USB drive. Otherwise, there is a chance that you could overwrite the data you’re trying to recover.
There are many software which could help you recover lost files or partition. Most of them aren’t free. But I came across with the open-source software – TestDisk which is free and works great.
TestDisk is powerful free data recovery software. It was primarily designed to help recover lost partitions and/or make non-booting disks bootable again when these symptoms are caused by faulty software: certain types of viruses or human error (such as accidentally deleting a Partition Table). Partition table recovery using TestDisk is really easy. On TestDisk official page, it contains many useful detailed documentation such as how to use TestDisk to recover lost partitions, undelete files.
In this article, I’ll show step-by-step guide how to recover data from deleted partition (D:) on Windows 8.1 using TestDisk.
Warning: I won’t responsible in any damage or failure that may happened if you’re using this tool so use at your own risk. If you are not sure in any step or need support, you should ask in TestDisk’s forum: http://forum.cgsecurity.org/
[youtube][/youtube]
Step-by-step to recover lost partition with TestDisk
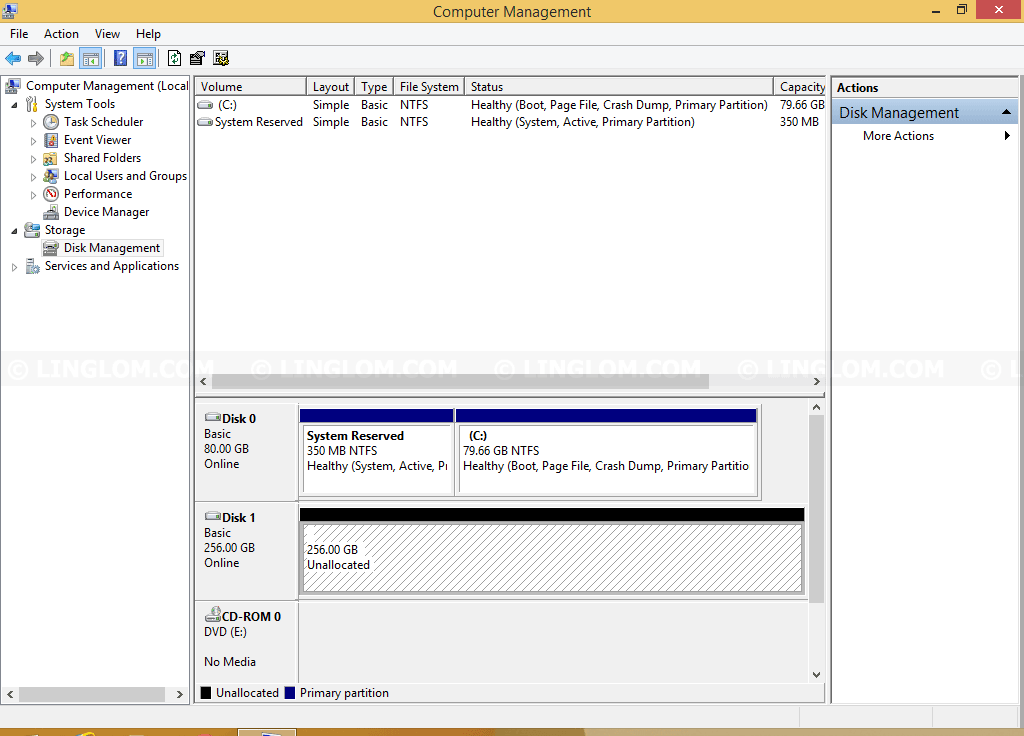
On Disk Management, a partition is accidentally deleted on Disk 1. It was drive D: before and there was some data on the drive. Now it displays as Unallocated.
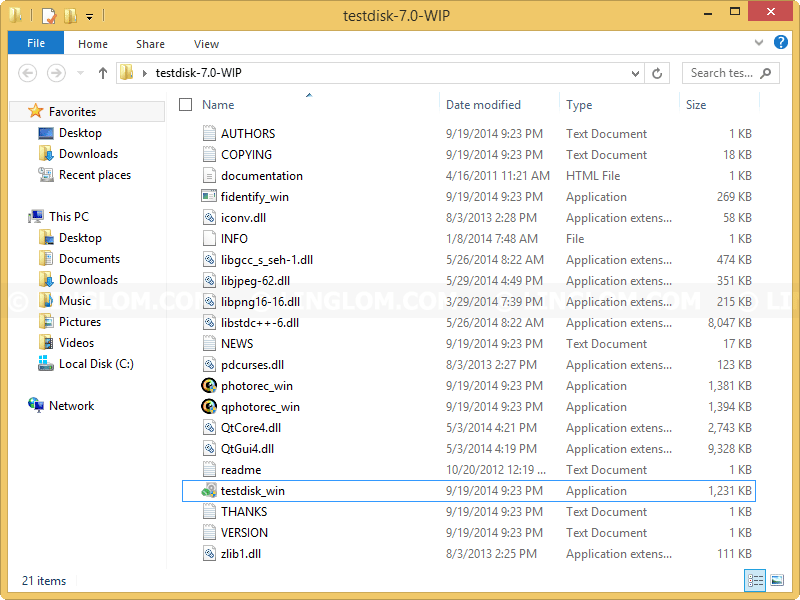
Download TestDisk for Windows 64-bit from TestDisk Download Page.
Extract the file and run “testdisk_win.exe”. TestDisk is a portable software, no need to install. TestDisk will run in command-line mode.
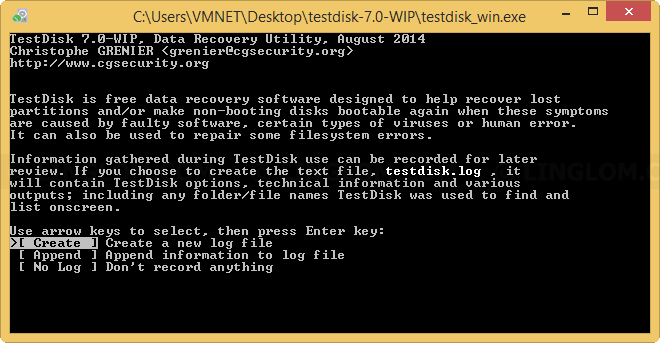
Select Create to create a log file for storing information and messages.
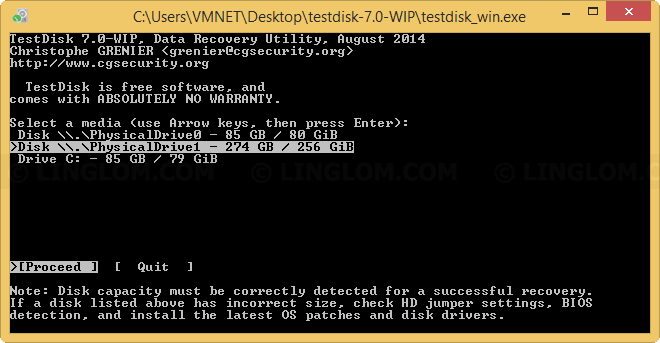
Use arrow keys (up and down) to select drive that you want to recover and press Enter to proceed.
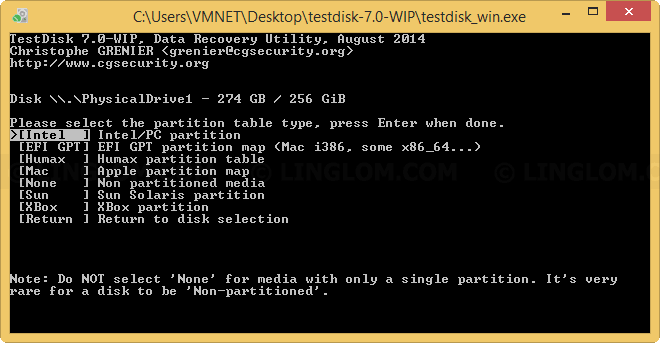
Select partition table type. TestDisk usually detects it for you. Press Enter to proceed.
Select Analyse to check the selected partition and search for lost partition.

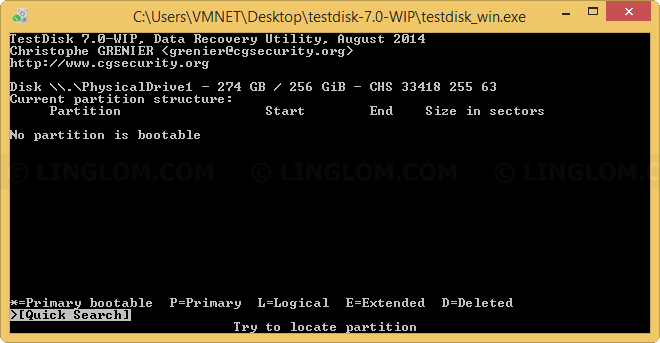
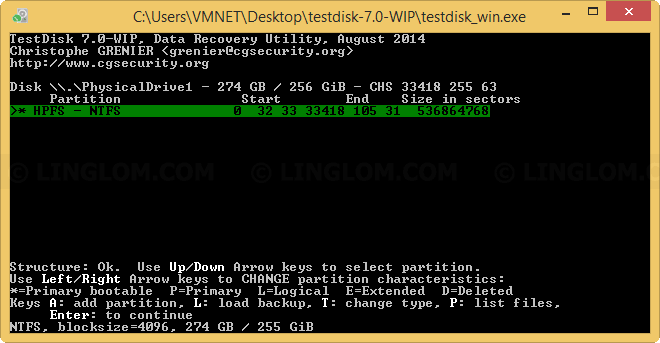
Here is the partition structure on the selected drive. Press Enter to begin Quick Search.
TestDisk returns a result that it has found a partition (as highlight in green color). Press Enter to proceed.
Note: You can view files on the selected partition by press p (to go back to the previous display, press q to Quit, Files listed in red are deleted entries).
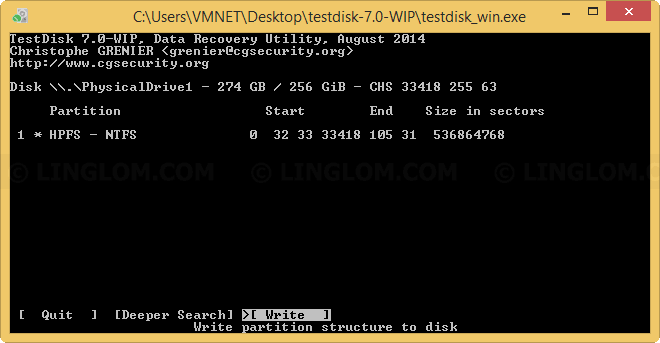
When you finish, select Write to save the partition structure.
Note:If you haven’t found all of your partition, you could continue with Deeper Search option. See official documentation for more details step.
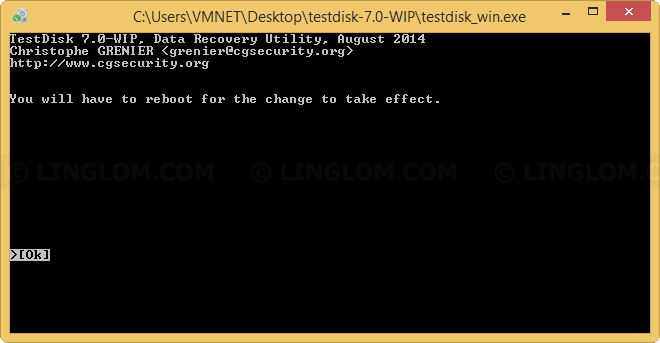
Type ‘y‘ and press Enter to confirm write the partition structure.

Reboot your computer.
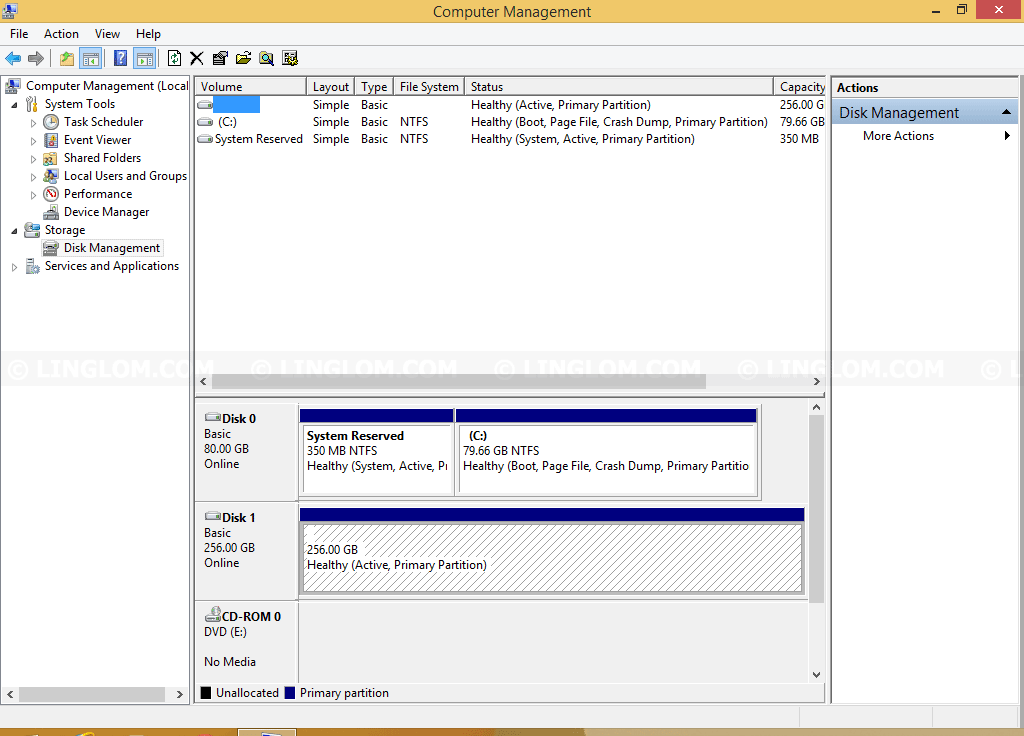
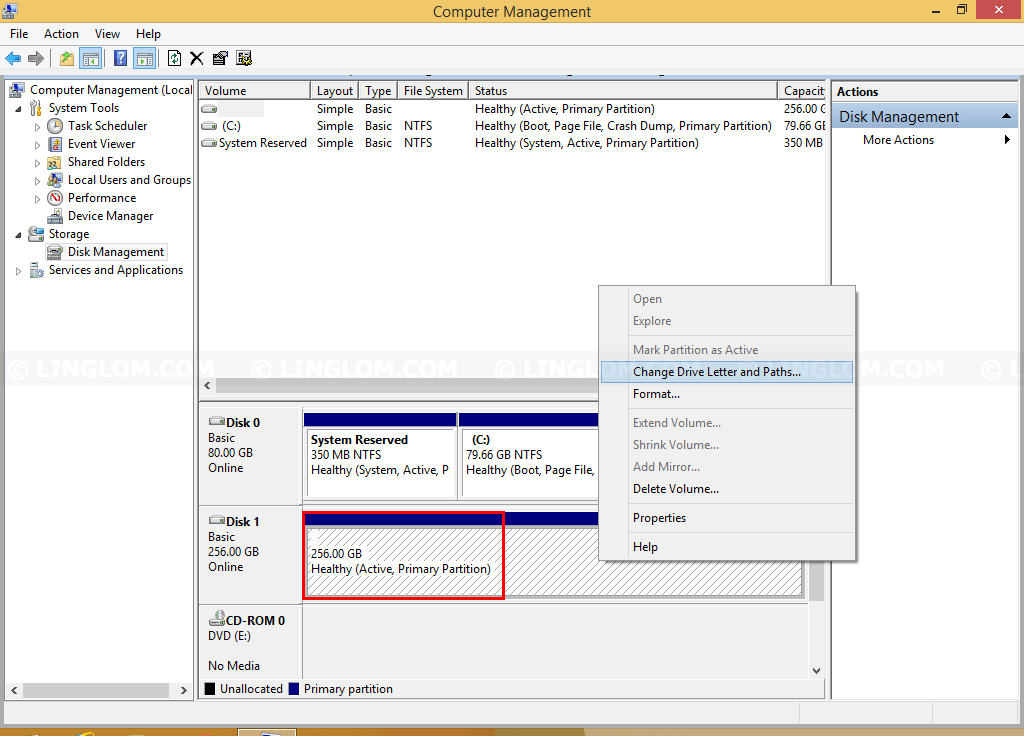
After reboot, open Disk Management. Now you see the partition on Disk 1 is active. But no drive letter assign yet.
Right-click on the partition and select Change Drive Letter and Paths.
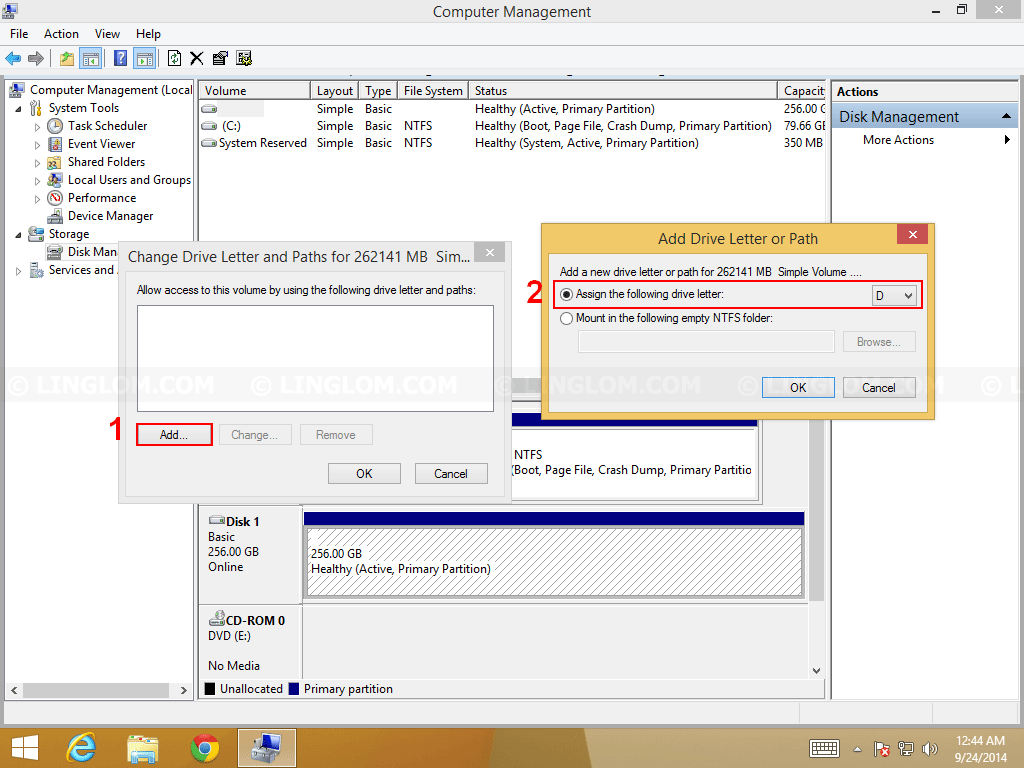
On Change Drive Letter and Paths, click Add and assign the drive letter for the recovered partition.
Now the partition is recovered.
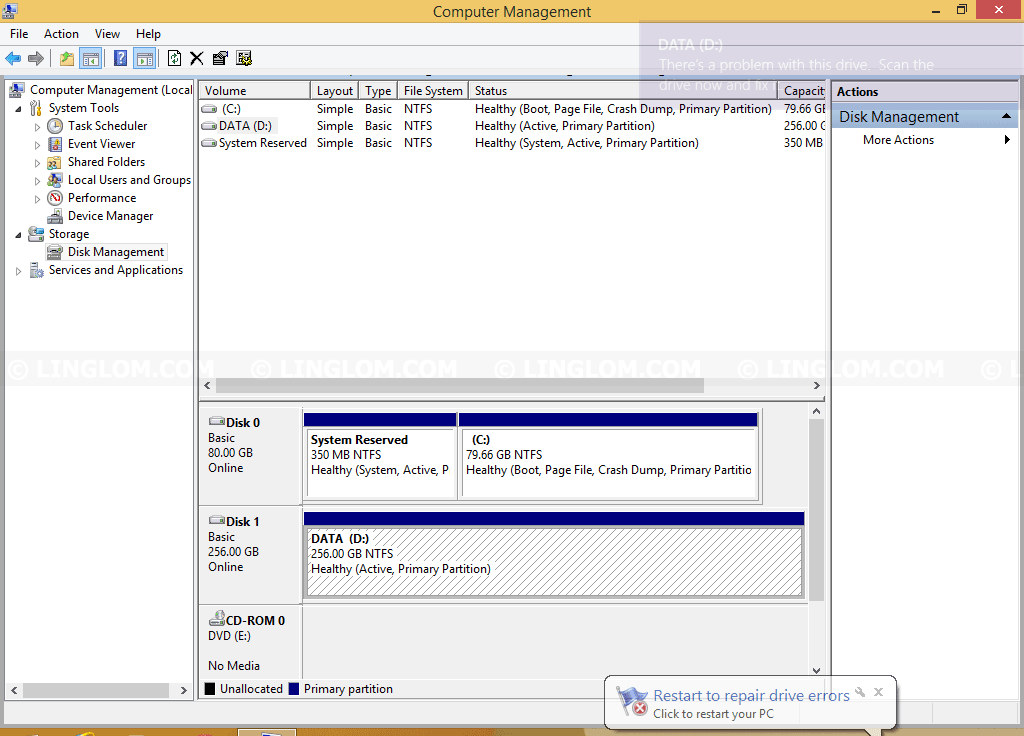
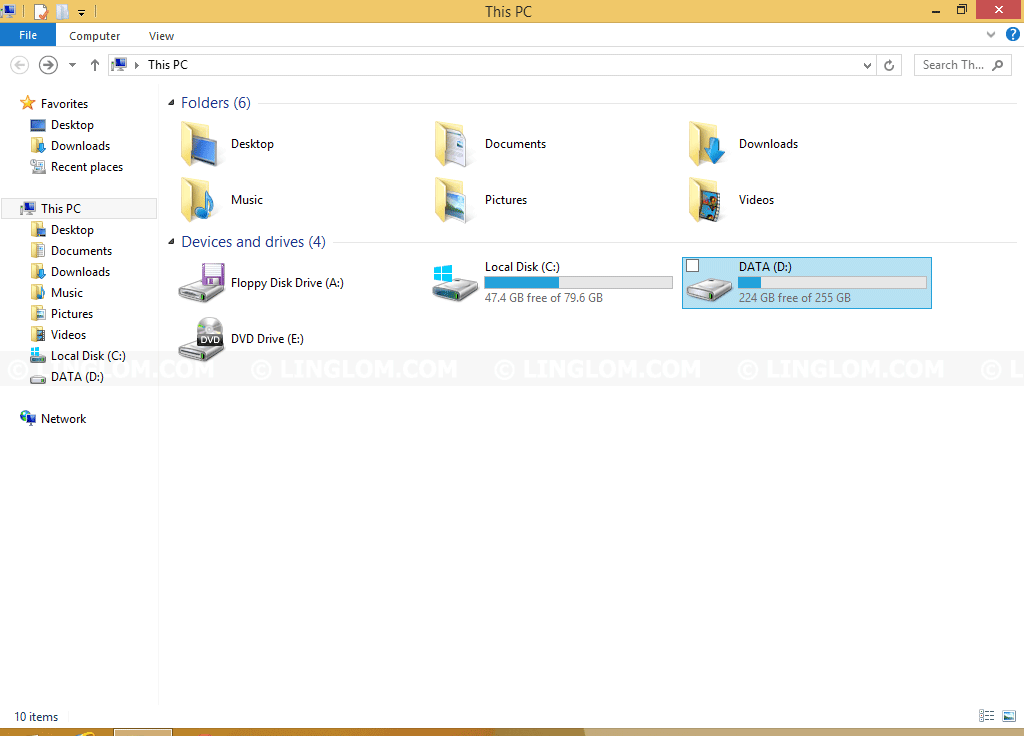
Recovered Drive/Partition